
How to Detox Your Kitchen Naturally (Hidden Toxins to Remove Today)
This post may contain affiliate links. If you choose to purchase through them, I may earn a small commission at no extra cost to you.

Could hidden toxins in your kitchen be working against your health? Are everyday items—like plastic containers, cookware, and cleaning products—quietly affecting your hormones and overall well-being?
And if you’re ready to clean up your body, shouldn’t the place where you prepare your food get a fresh start too?
Your kitchen should support your health—but many everyday items can expose you to hidden toxins without you realizing it. From plastic containers to nonstick cookware and chemical cleaners, small daily exposures can add up over time. If you’re trying to detox your kitchen naturally, the goal is reducing what matters most with simple, practical swaps.
In this guide, you’ll learn how to identify common kitchen toxins and replace them with safer, non-toxic alternatives that actually fit into real life.
What Does It Mean to Detox Your Kitchen Naturally?
Detoxing your kitchen doesn’t mean surviving on green juice or tossing everything you own into the trash. It means examining what touches your food, what fills the air while you cook, and what may hide in everyday products. Think of it as giving your kitchen a health-conscious makeover—without the drama or the enormous shopping bill.
How to Detox Your Kitchen Naturally
You don’t need to overhaul your entire kitchen overnight—start with these simple steps and make healthier swaps at your own pace.
Step 1: Stop Heating Food in Plastic
Heat can encourage substances from plastic to migrate into your food, especially when containers are scratched, stained, or worn. Transfer leftovers to a glass or ceramic dish before reheating them, and let hot food cool before placing it in plastic. It costs nothing, takes seconds, and gives your kitchen detox an easy first win.
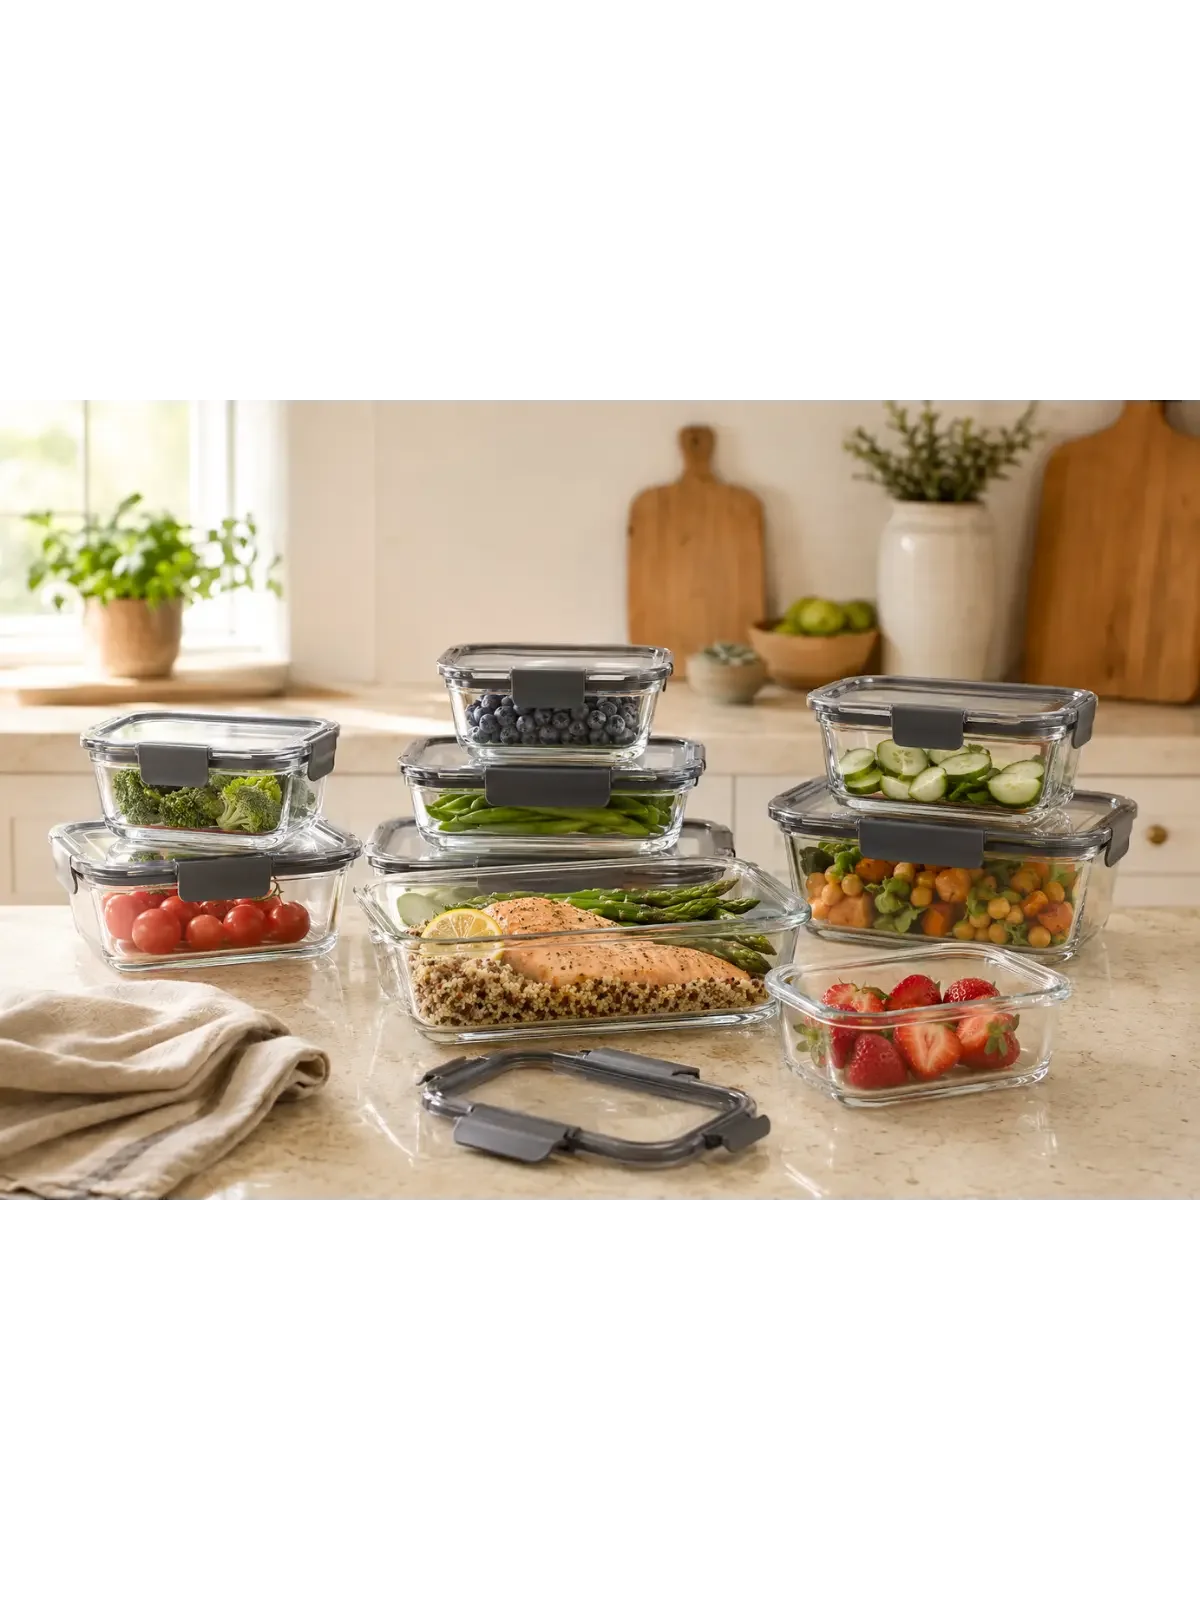
Shop My Favorite Glass Food Containers
Ready to make the switch? Browse the glass containers I recommend for storing leftovers, meal prepping, and reheating food with less plastic.
Paid link. I may earn a commission at no extra cost to you.
Illustrative image; actual product appearance may vary. Check the retailer’s listing for current details and specifications.
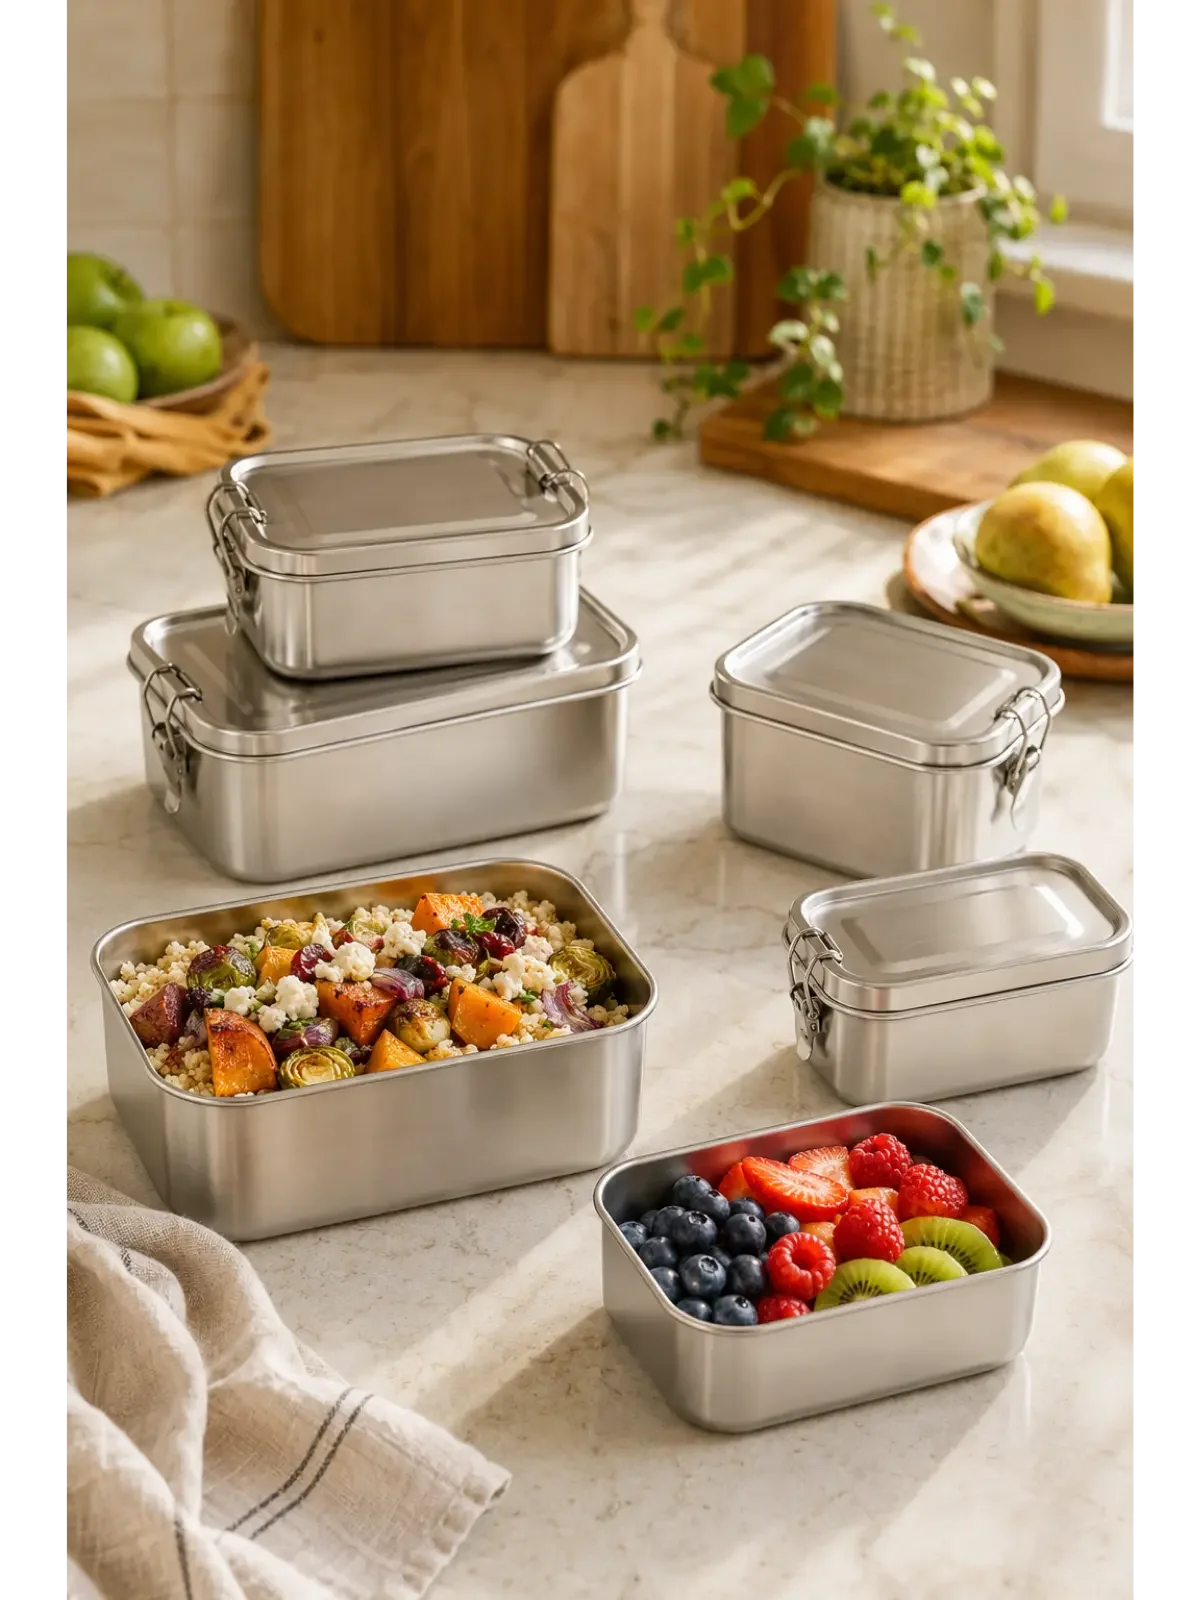
Prefer Stainless Steel?
Durable, reusable, and free from plastic, these stainless-steel containers make storing lunches and leftovers feel refreshingly simple.
Shop Stainless-Steel Containers
Paid link. I may earn a commission at no extra cost to you.
Illustrative image; actual product appearance may vary. Check the retailer’s listing for current details and specifications.
Step 2: Replace Scratched Nonstick Cookware
Examine the pans you use each week. If the nonstick coating shows scratches, chips, or peeling spots, retire the pan instead of forcing it through another dinner. Choose stainless steel, cast iron, glass, or enameled cookware when you need a replacement—but take your time. Your kitchen doesn’t need to break up with every pan at once.

Cook with Stainless Steel
Durable, versatile, and made to last, stainless-steel cookware offers a dependable alternative when scratched nonstick pans need to go.
Paid link. I may earn a commission at no extra cost to you.
Illustrative image; actual product appearance may vary. Check the retailer’s listing for current details and specifications.

A Vintage Kitchen Find
I found my amber glass cookware at an antique store, where I could inspect them before bringing it home. Similar sets appear on Amazon, but some reviewers report receiving damaged or broken cookware. If you order online, read the latest reviews, check the seller’s return policy, and inspect each piece for chips or cracks before using it.
View the Set and Read the Reviews
Paid link. I may earn a commission at no extra cost to you.
Illustrative image; actual product appearance may vary. Check the retailer’s listing for current details and specifications.
Step 3: Replace Worn Plastic Utensils
Inspect every spatula, spoon, and ladle that touches hot food. Retire pieces that show cracks, melting, peeling, or deep scratches. Choose stainless steel when your cookware allows it. For surfaces that scratch, select one-piece silicone utensils from a reputable manufacturer, follow the stated heat limit, and never leave them resting in a hot pan.
That version feels more responsible than simply calling silicone “safe.” Even the friendliest spatula needs boundaries.
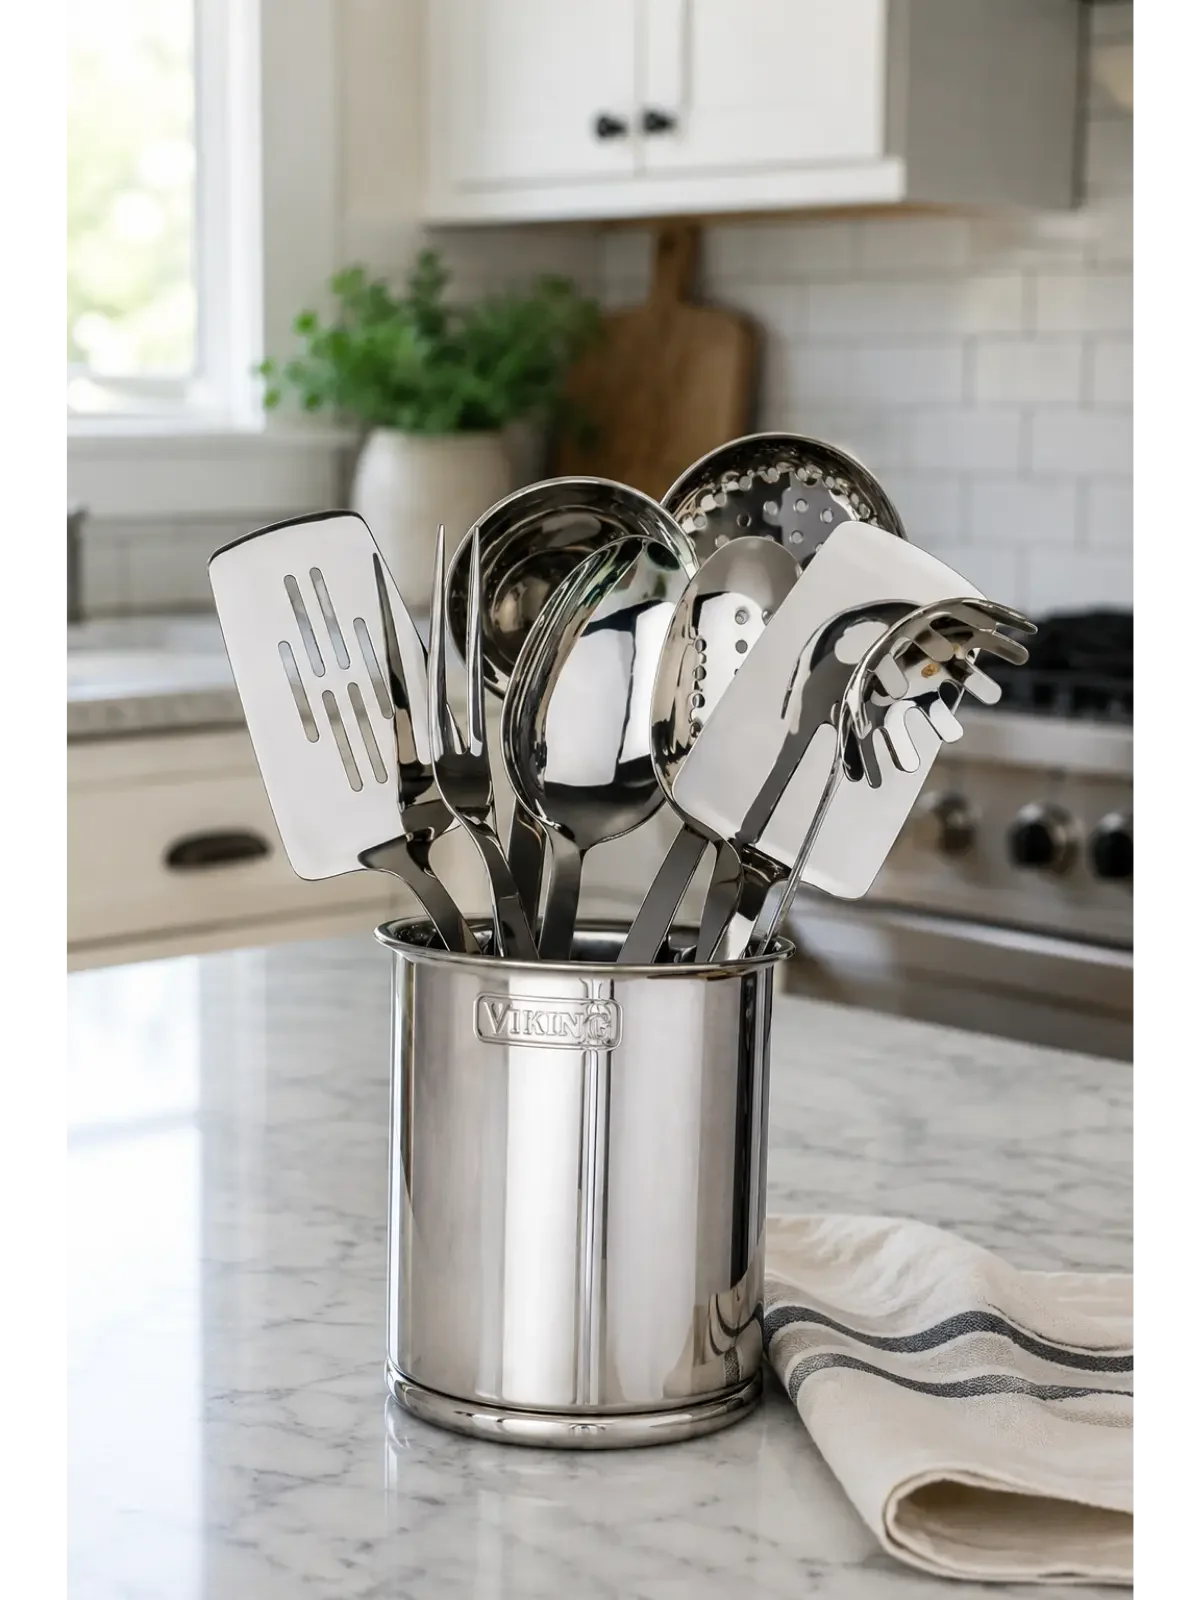
Stainless Steel Kitchen Utensils that Last
Replace plastic tools with durable stainless steel utensils that resist heat, won’t leach chemicals, and help create a cleaner, healthier kitchen.
Paid link. I may earn a commission at no extra cost to you.
Illustrative image; actual product appearance may vary. Check the retailer’s listing for current details and specifications.
Step 4: Replace Worn Plastic Cutting Boards
Every cutting board—whether made from plastic, wood, or bamboo—can develop grooves that trap food residue and bacteria. Replace boards with deep cuts, cracks, warping, every 6 months. If your budget allows, consider a durable stainless steel option that won’t absorb moisture, odors, or food residue.
The FDA recommends keeping one board for raw meat, poultry and seafood and another for produce and ready-to-eat foods. This separation matters more than choosing one supposedly “perfect” material.
I use stainless steel for raw meat, poultry, seafood, and anything that may release juices. I reserve my wood and bamboo boards for vegetables, herbs, cheese, and other ready-to-eat foods.

Beautiful Boards for Everyday Prep
This three-piece acacia wood set offers generous prep space, deep juice grooves, and sizes for everything from chopping vegetables to serving meals.
Paid link. I may earn a commission at no extra cost to you.
Illustrative image; actual product appearance may vary. Check the retailer’s listing for current details and specifications.
Replace a wood or bamboo cutting board as soon as it develops deep cracks, grooves that are difficult to clean, lingering odors, or warping.
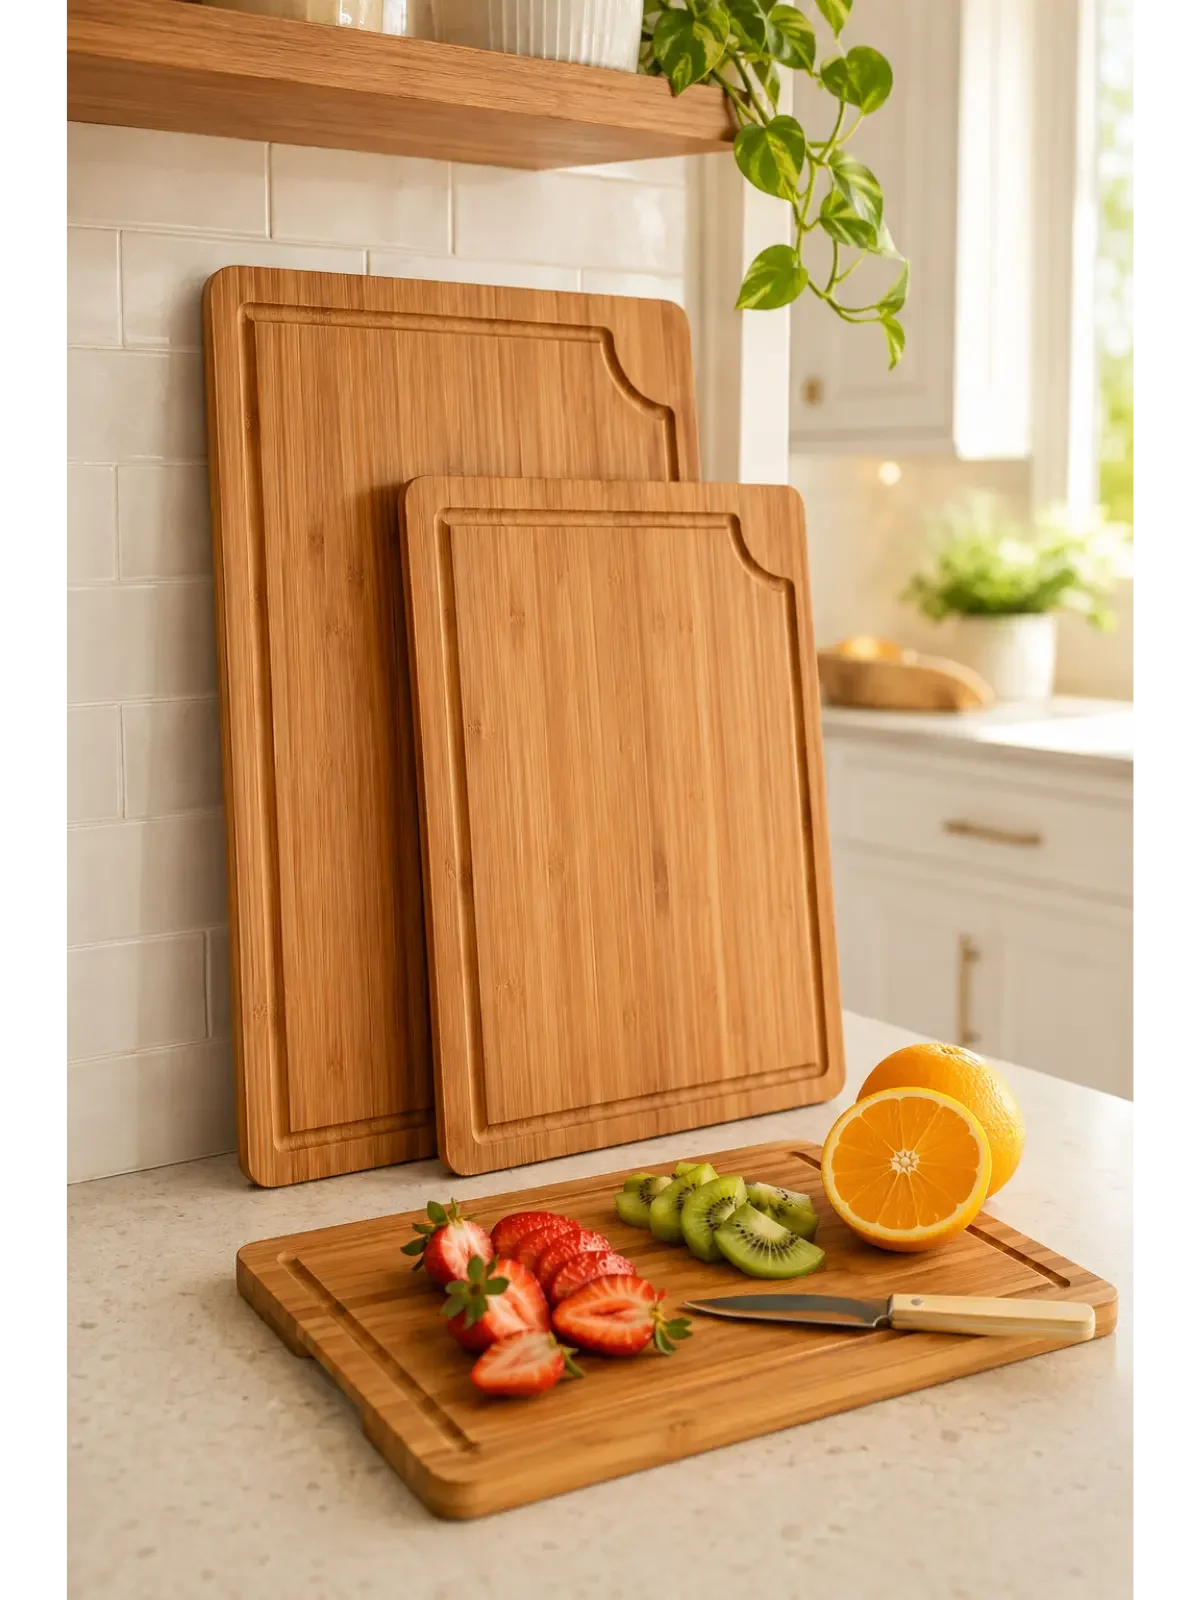
Bamboo Boards for Every Kitchen Task
This three-piece set offers a convenient size for every job, with deep juice grooves and built-in corner handles for easier prep and serving.
Paid link. I may earn a commission at no extra cost to you.
Illustrative image; actual product appearance may vary. Check the retailer’s listing for current details and specifications.
Which One Should You Choose?
If you handle raw meat frequently, stainless steel makes a practical dedicated surface because it does not absorb meat juices and can be cleaned thoroughly. Just remember that repeated chopping against metal can shorten the life of a sharp knife’s edge.

A Cleaner, Nonporous Cutting Surface
This food-grade stainless steel board won’t absorb moisture, odors, or food residue. Its L-shaped edge fits over the countertop border to help keep the board securely in place while you prepare food.
Paid link. I may earn a commission at no extra cost to you.
Illustrative image; actual product appearance may vary. Check the retailer’s listing for current details and specifications.
Step 5: Replace Harsh Cleaning Products
Many conventional kitchen cleaners contain strong fragrances, dyes, and chemicals that can irritate the skin, eyes, and lungs. Choose fragrance-free products with transparent ingredient lists, or clean everyday surfaces with diluted dish soap. Never combine cleaning products—mixing ingredients such as vinegar and bleach can release dangerous fumes.

Natural Cleaning Essentials
Clean with fragrance-free soap, baking soda, vinegar, hydrogen peroxide, lemons, and reusable cloths.
Step 6: Improve Kitchen Ventilation
Cooking releases smoke, grease particles, and gases into the air—especially when frying, searing, or using a gas stove. Run the range hood while cooking, open a window when possible, and continue ventilating the kitchen for several minutes after you finish.
Step 7: Replace Worn Sponges and Dishcloths
Sponges and dishcloths collect moisture, food particles, and bacteria with every use. Wash dishcloths in hot water after each day of use and allow them to dry between cleanups. Replace sponges every one to two weeks—or sooner if they smell, crumble, or remain dirty after washing. Never use the same cloth to wipe countertops, dishes, and raw meat juices.
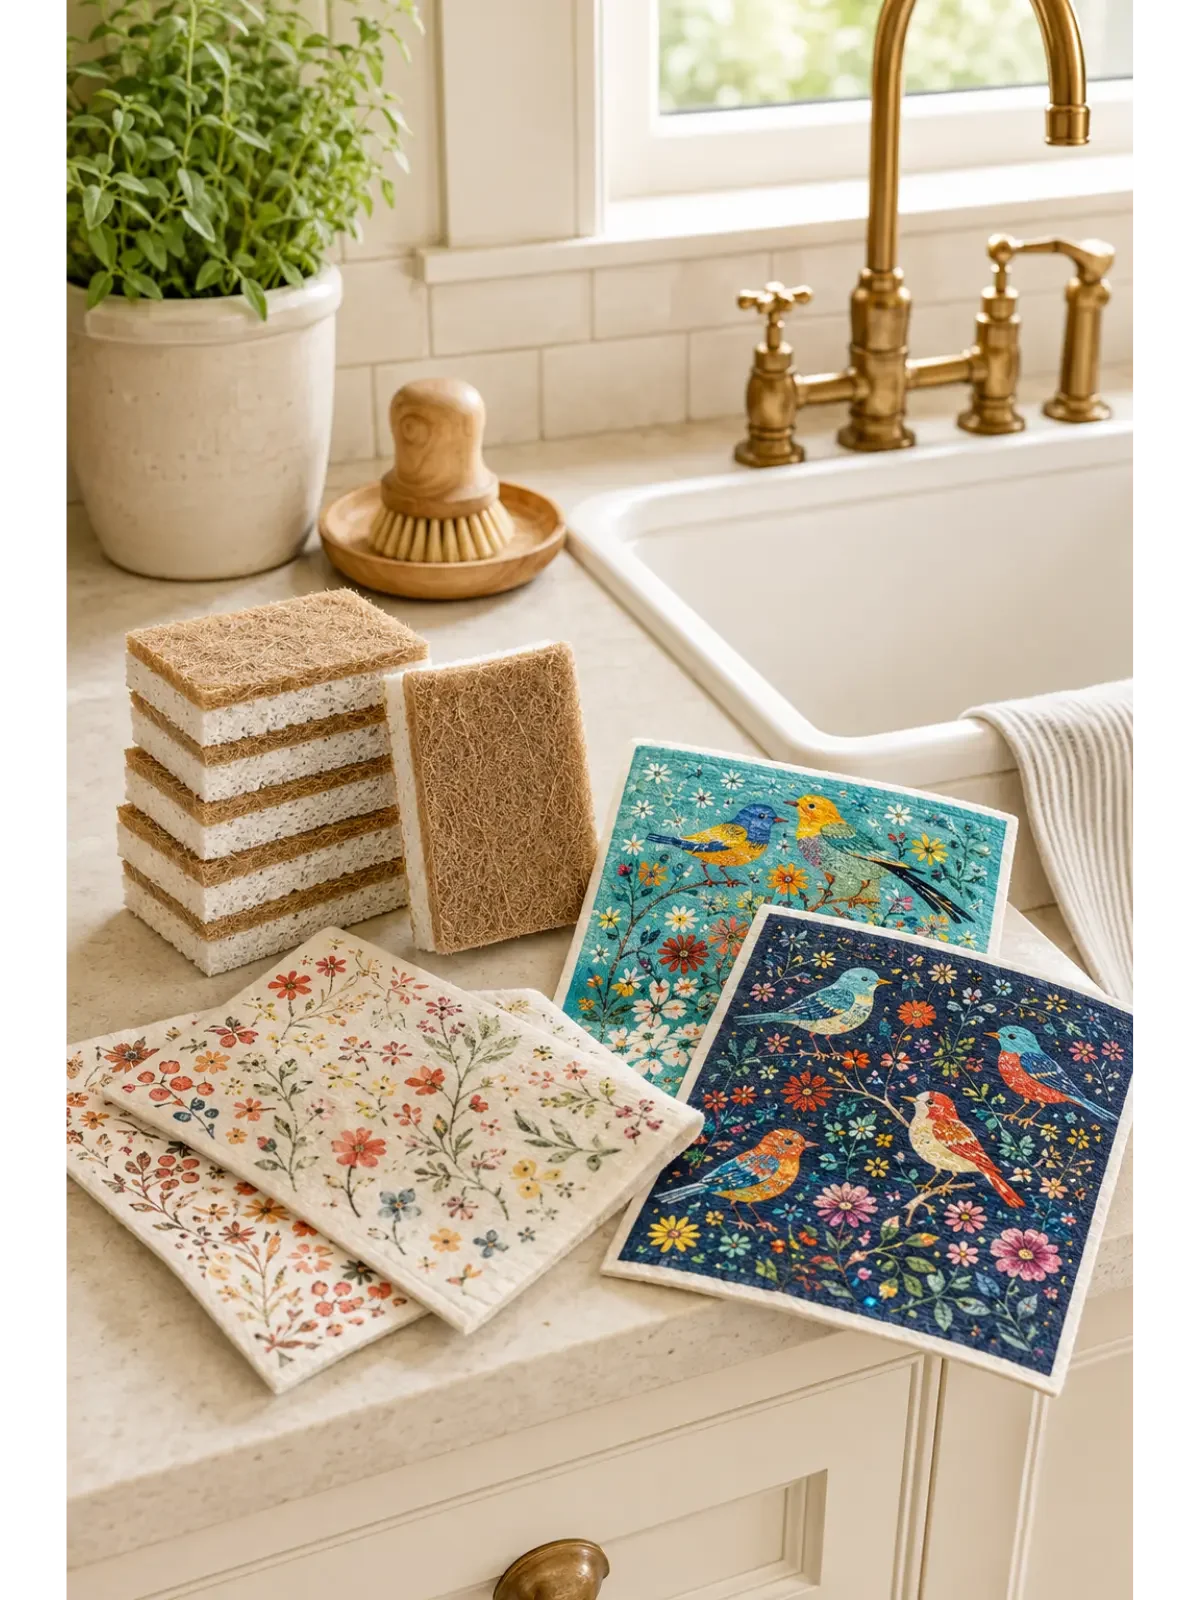
A Healthier Way to Clean
Plant-based sponges and reusable Swedish dishcloths handle everyday messes while bringing color and charm to the kitchen.
Shop Reusable Cleaning Essentials
Paid link. I may earn a commission at no extra cost to you.
Illustrative image; actual product appearance may vary. Check the retailer’s listing for current details and specifications.
Step 8: Remove Artificial Fragrances
Scented candles, plug-ins, sprays, and air fresheners can release fragrance chemicals and particles into the air. Remove them from areas where you prepare food, and freshen the kitchen by opening a window, running the range hood, or simmering citrus peels and herbs in water. If you enjoy candles, choose unscented options and maintain good ventilation.
Step 9: Give Your Tap Water an Extra Layer of Filtration
Water travels through treatment systems and household plumbing before it reaches your glass. A quality filter can reduce certain unwanted substances while improving taste and odor—but no filter removes everything. Review its independent certifications, confirm which contaminants it targets, and change the cartridge on schedule to keep the system working as intended.

Cleaner Water from Your Kitchen
This six-stage reverse-osmosis system filters water beneath the sink and adds minerals back for improved taste.
Shop the Reverse Osmosis System
Paid link. I may earn a commission at no extra cost to you.
Illustrative image; actual product appearance may vary. Check the retailer’s listing for current details and specifications.
Explore Midlife Accent curated Amazon finds *
*As an Amazon Associate I earn from qualifying purchases.
Frequently Asked Questions
Where should I begin if my kitchen feels overwhelming?
Start with the items showing visible wear. A peeling pan, cracked board, melted utensil, or cloudy plastic container deserves attention before something that still works well. Change one category at a time and let your kitchen evolve with your budget.
Must I throw away every nonstick pan?
No. A pan with a smooth, intact coating can stay in your kitchen. Retire it when the surface peels, chips, or when collecting deep scratches.
Which cutting board belongs with which foods?
I reserve stainless steel for raw meat, poultry, seafood, and dough. Wood and bamboo feel better beneath a knife, so I use them for vegetables, fruit, herbs, cheese, and bread.
When has a wood or bamboo board reached the end of its life?
A few shallow knife marks come with normal use. Deep cracks, stubborn grooves, warping, split seams, and lingering odors? Sign that the board should go.
How long can I keep a kitchen sponge?
A sponge may last one or two weeks, but condition matters more than the date. If it smells unpleasant, falls apart, stays grimy, or never dries between uses, replace it.
Can simple ingredients replace every household cleaner?
No single ingredient can tackle every mess. Dish soap handles most daily grease, baking soda helps scrub away stuck-on residue, and vinegar dissolves mineral deposits on compatible surfaces. Some situations still call for a disinfectant designed for that purpose.
Do natural cleaning ingredients always mix safely?
No. “Natural” does not mean harmless in every combination. Keep vinegar away from bleach and hydrogen peroxide, follow product directions, and use one cleaning method at a time.
How can I choose the right water filter?
Begin with the water coming into your own home. Review your area’s water report, decide which substances you want to reduce, and choose a system independently certified for those specific claims.
Does creating a cleaner kitchen require a large budget?
Not at all. Stop heating food in plastic, ventilate while cooking, wash reusable cloths after use, and retire damaged tools first. Small changes can reshape a kitchen without ambushing your wallet.
A cleaner kitchen doesn’t require perfection or an expensive makeover—just thoughtful changes, one item at a time. Join the Accent Newsletter for practical wellness ideas, smarter home choices, and inspiration for creating your next chapter with confidence.
Affiliate Disclosure: This post contains affiliate links. If you purchase through them, I may earn a commission at no additional cost to you. As an Amazon Associate I earn from qualifying purchases.
Image note: This image was created for illustrative purposes and may not show the product exactly. Check the retailer’s listing for current specifications and appearance.
Editorial note: This article provides general educational information. Follow each manufacturer’s care, cleaning, installation, and safety instructions. Product features, certifications, prices, and availability may change.
